2 Version control with git and GitHub
We are interested here in the solutions offered by RStudio and GitHub for hosting and version control of projects. This allows to monitor changes history, to help collaborative development and to facilitate continuous integration.
2.1 Principles of version control
The principle of version control is to record the successive changes made to files (especially .R files in our case).
RStudio offers 2 integrated solutions for version control:
gitsvn(“subversion”)
2.1.1 git
git is a version control software (i.e. a tool that will record the history of successive changes to your code and allow you to share these changes with other people). git is a command line program, and it is not necessarily very intuitive to use.
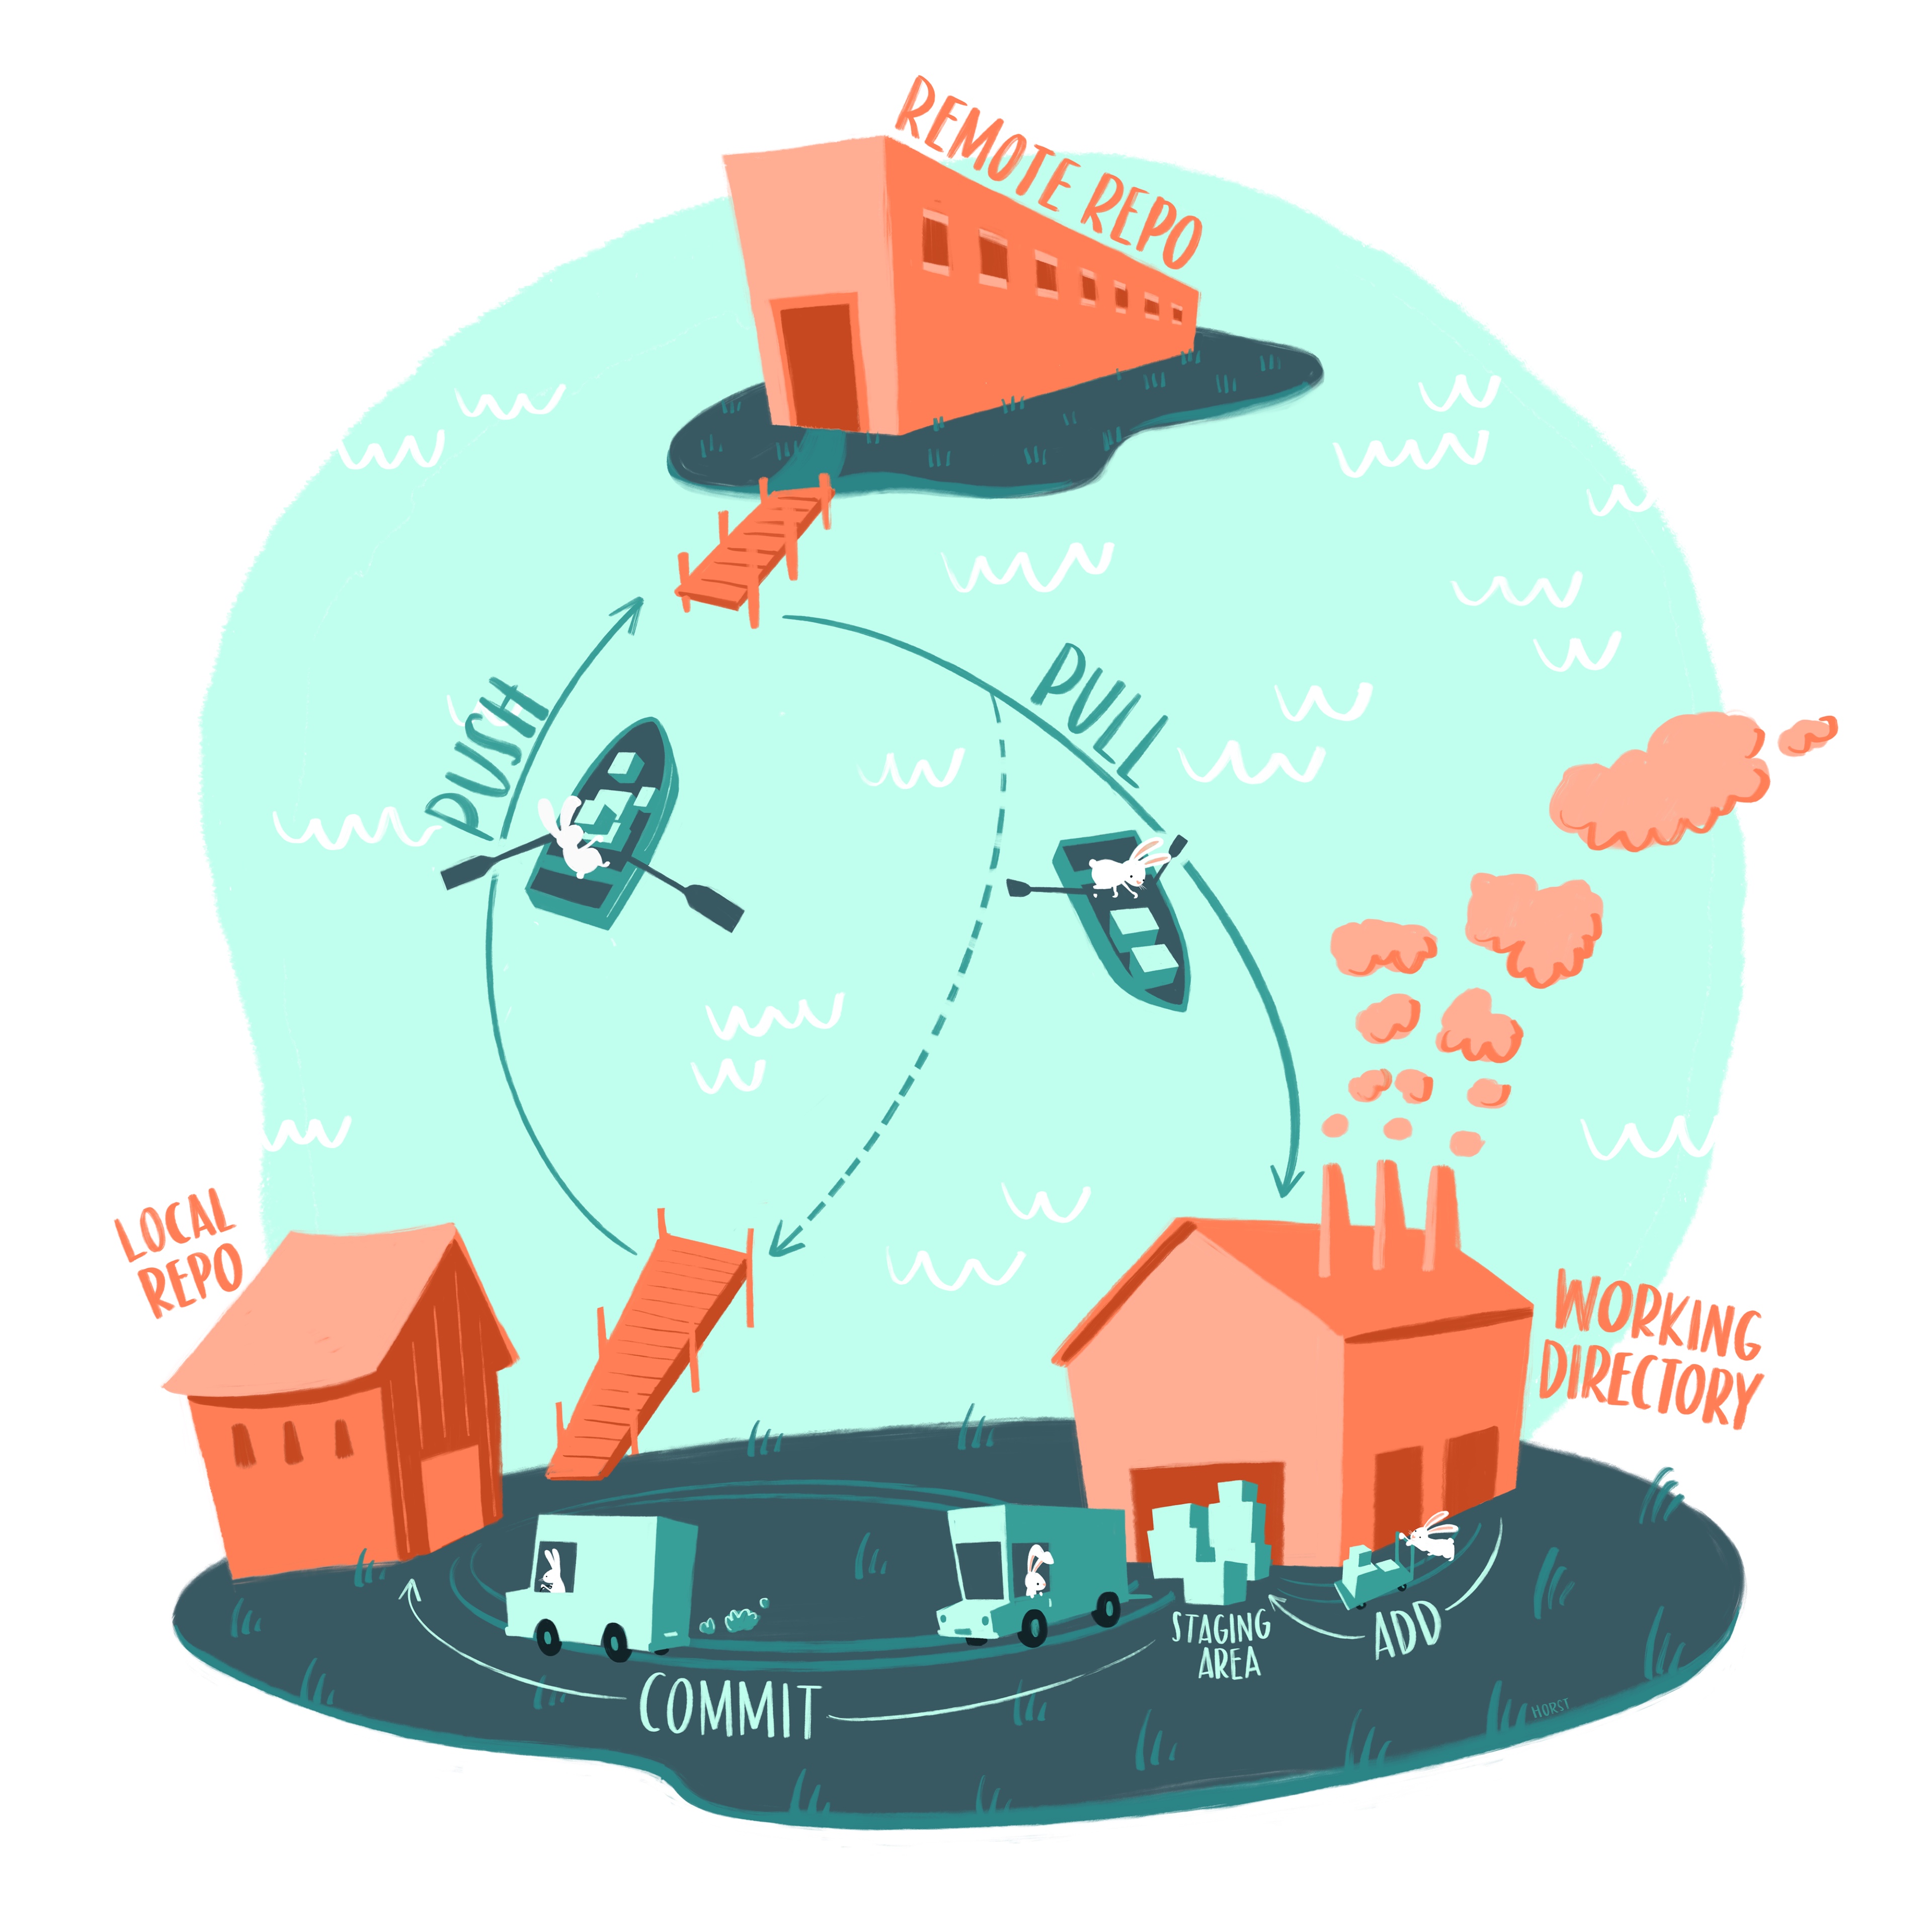
git works as follows: on a remote server (e.g. in the cloud), an updated version of the code is available. At any time it is possible to access this version of the code online. Each contributor can download this last updated version (in an action called pull), before editing it locally. Once changes are made locally, the contributor can then update the online version of the code, so that his changes become available to everyone (in an action called push).
NB: git was designed for lightweight files (such as text files) and is far from being optimized for heavy and/or compressed files (e.g. .RData files).
2.2 Use git locally within RStudio
👉 Your turn !
Start by enabling
gitfrom the “Git/SVN” tab of “Project Options” located in the “Tools” menu and follow the instructions. You can also runusethis::use_git()in the console alternatively.From the “Git” tab that now appears next to the “Build” tab, register the current state of your package by making your first commit:
2a. Select the files to track (do not select the
.Rprojfile)2b. write an informative message (for your collaborators – this includes your future self)
2c. click on “Commit”
2d. if this is the first time you are using git on your computer, you might be prompted with an error that looks something like that:
*** Please tell me who you are.

Run

git config --global user.email "you@example.com"
git config --global user.name "Your Name"
To solve this, run the following command into the console with your user.name and your email filled in:
usethis::use_git_config(user.name = "FirstName LastName", user.email = "your@email.com")Add a “*.Rproj” line to the “.gitignore” file and make a new commit
Visualize the changes and their history using the visualization tools “Diff” and “History” tools accessible from the “Git” tab
2.2.1 Good commit practices
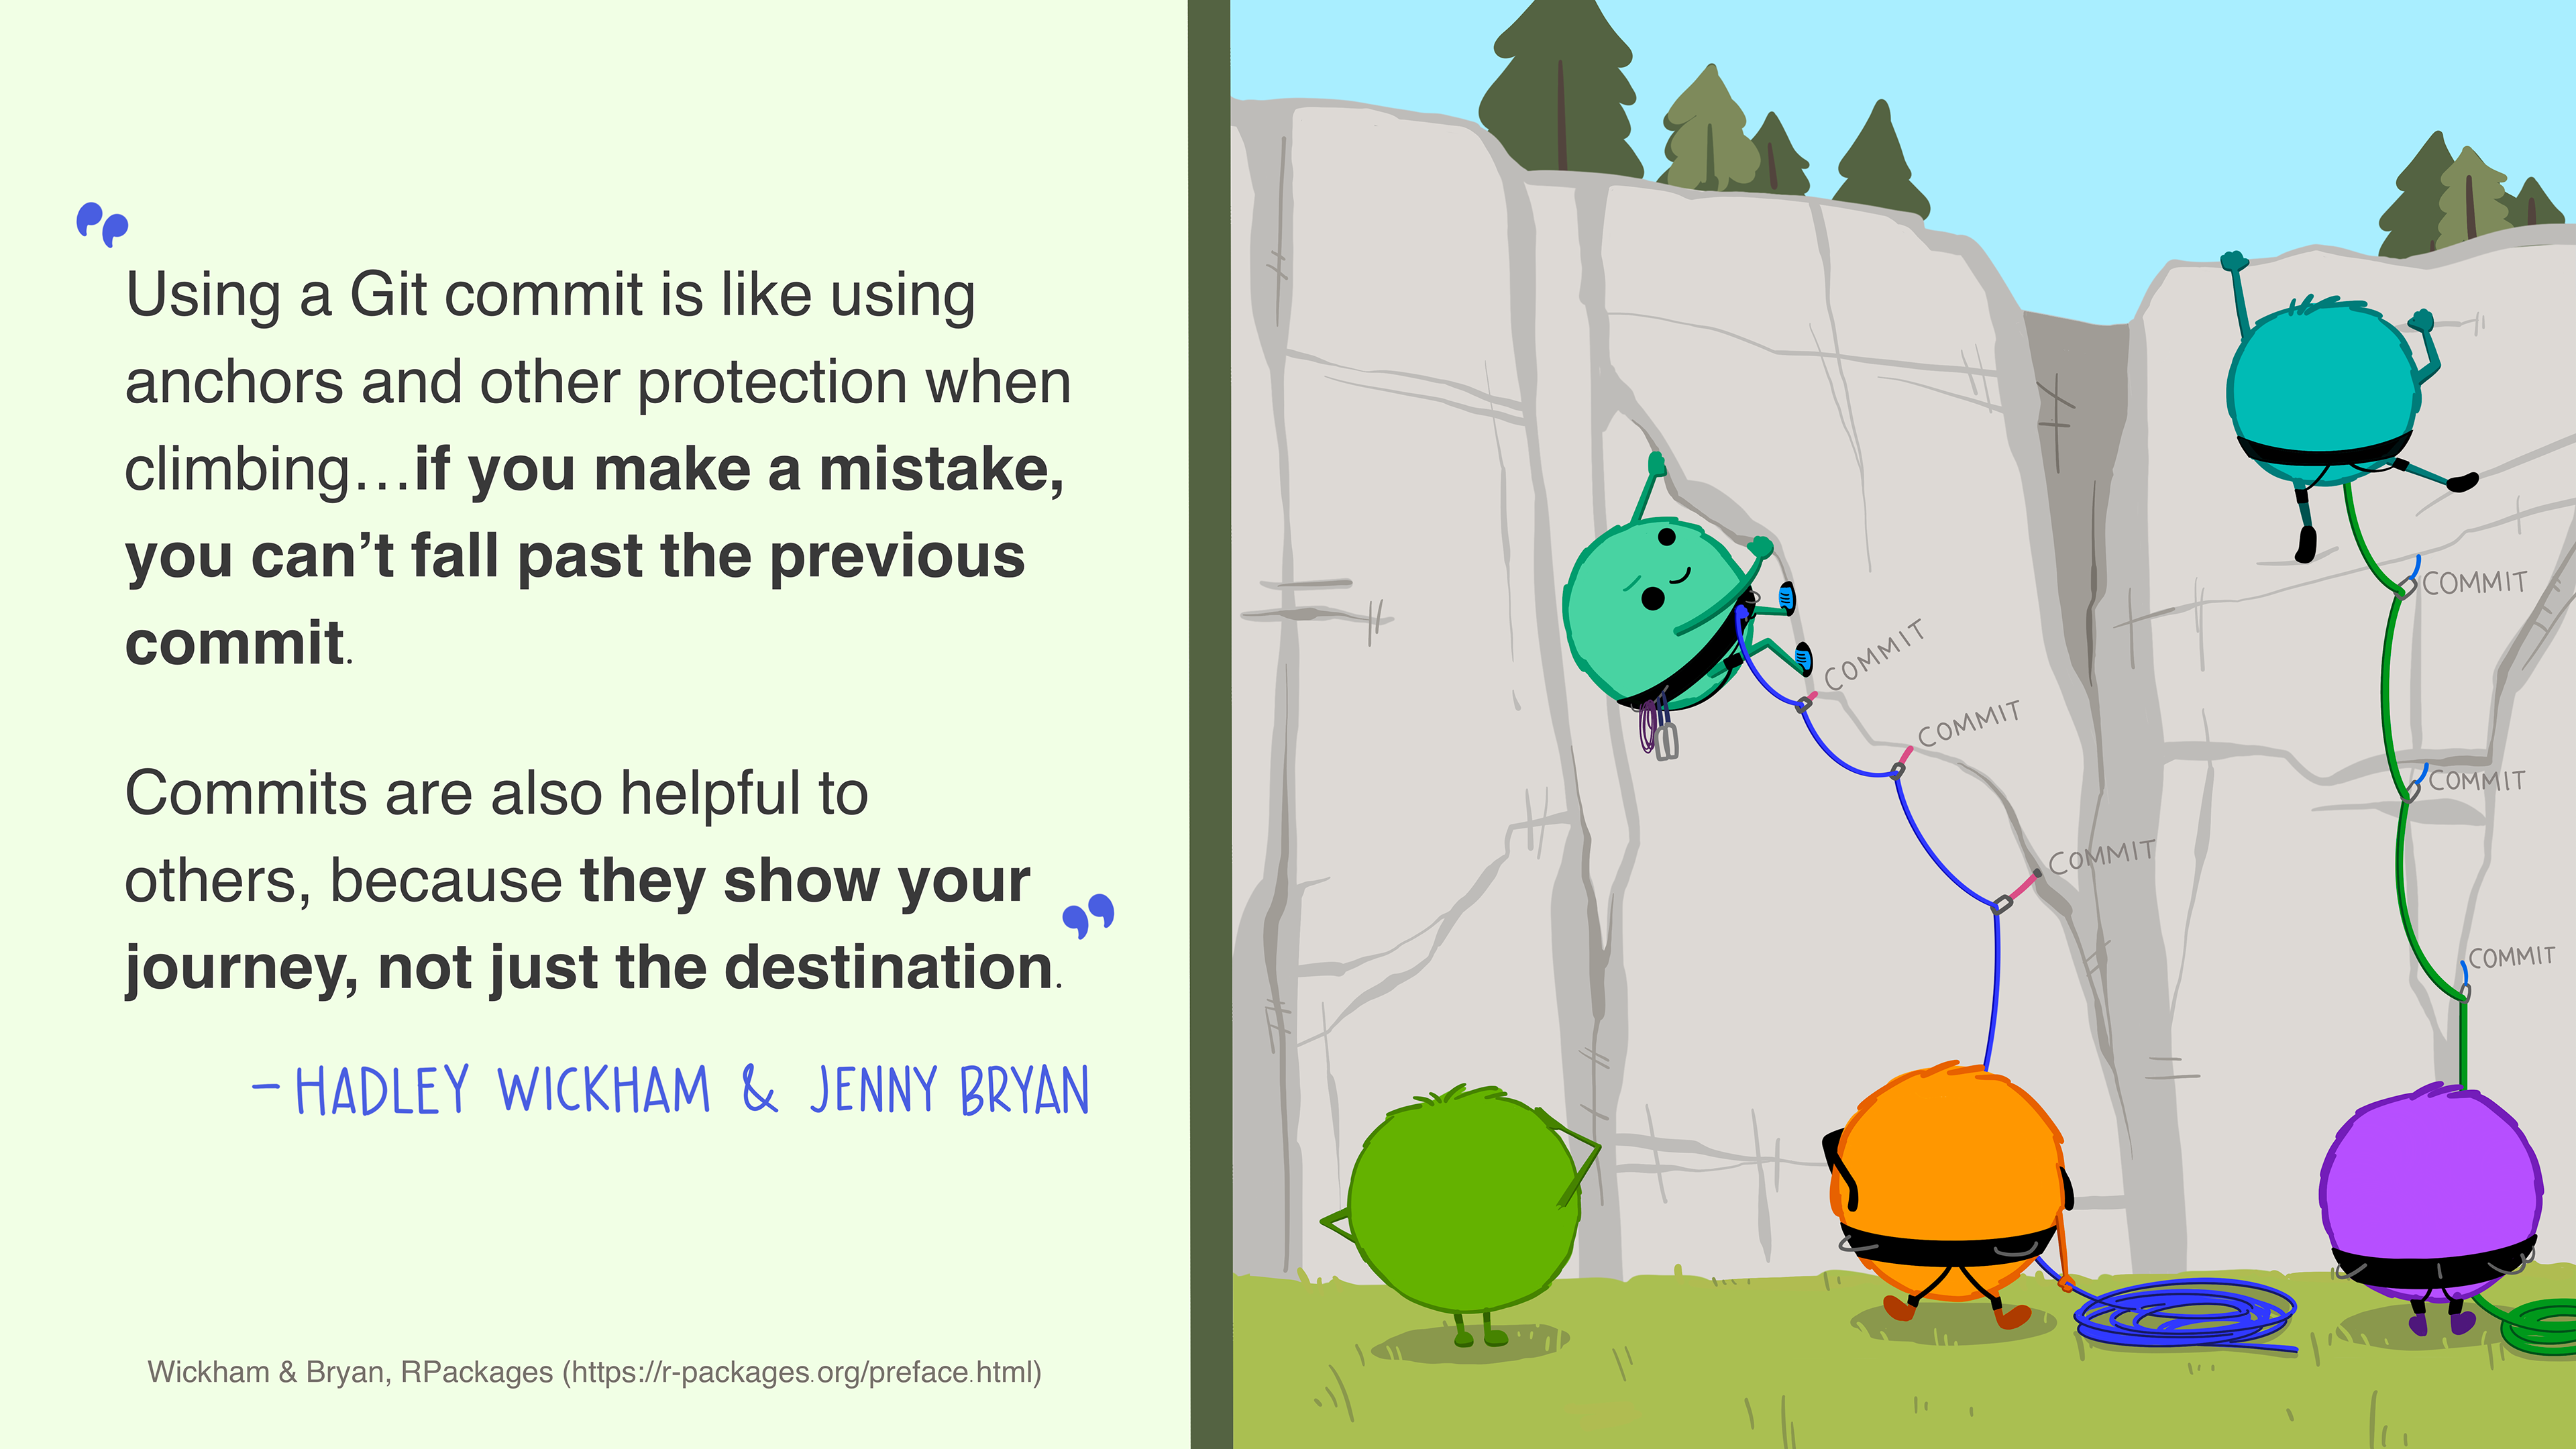
Ideally, each commit should solve only one problem. It should fix it in its entirety (be complete), and contain only changes related to that very problem (be minimal). It is especially useful to write informative commit messages (be kind and help your collaborators, which includes your future self). You should also be concise, and describe the reasons for the changes rather than the the changes themselves (visible in the Diff).
NB: it is sometimes difficult to follow these guidelines to the letter, and they are merely an ideal guide. They certainly should not prevent you from should from regularly making commits.
On the other hand, the temptation to have a “clean” and tidy change-history is natural, but it is a source of unnecessary problems. It contradicts the traceability goal of version control. Since code development is generally a complex, messy, and non-linear intellectual process, it is normal that the recording of changes reflects this path. In practice, your future self will be the first user of your change history, so the priority is to make it easier for you in the future when solving bugs or extending functionality.
2.3 GitHub
GitHub is a website offering an online code hosting solution, and is based on git. There are many alternative websites and services (GitLab, Bitbucket, …) allowing to host code and also based on git. GitHub is very popular in the community, and is relatively easy to use, even for a novice user.
Advantages of using GitHub:
a simple and user-friendly graphical interface to track the history of changes to your code
the latest development version of your code is available online and you can reference it (you can even reference a specific commit number to freeze a specific version of the code)
users have a clear and transparent channel to report bugs/difficulties
it greatly facilitates collaborative development
2.3.1 Upload one’s package onto GitHub
👉 Your turn !
- Go to https://github.com/ and create a GitHub account (if you hesitate, a common convention is to use your firstnamelastname as username)
- Follow the instructions from chapters 9 and 10 in Happy Git With R by Jenny Brian to store your GitHub authentication within RStudio. The general advice is to use:
httpsand a Private Access Token withusethis::create_github_token()if onWindowsorMacOS(➡️ see 🌐 chapter 9)sshwith a pair of private and public keys if onLinux(➡️ see 🌐 chapter 10)- Then run
usethis::use_github()into the console and follow the instructions.- Add a
README.Rmdfile to your package in order to have a nice home page on GitHub:
- 3a. In RStudio, run the command
usethis::use_readme_rmd()- 3b. using the “Diff” tool in the “Git” tab of RStudio, review the changes made by the previous command
- 3c. edit the created
README.Rmdfile, then create the correspondingREADME.mdfile by runningknitr(click on the wool ball “Knit” at the top left in RStudio), before making a 3rd commit containing these changes- 3d. At this point, if you visit your directory page on GitHub, your 3rd commit does not appear for the moment. You have to synchronize the online GitHub directory with your local folder. To do this, you have to click on “Push” from the “Git” tab. Now, the changes of this 3rd commit should be visible online on GitHub.
2.4 Collaborative code production
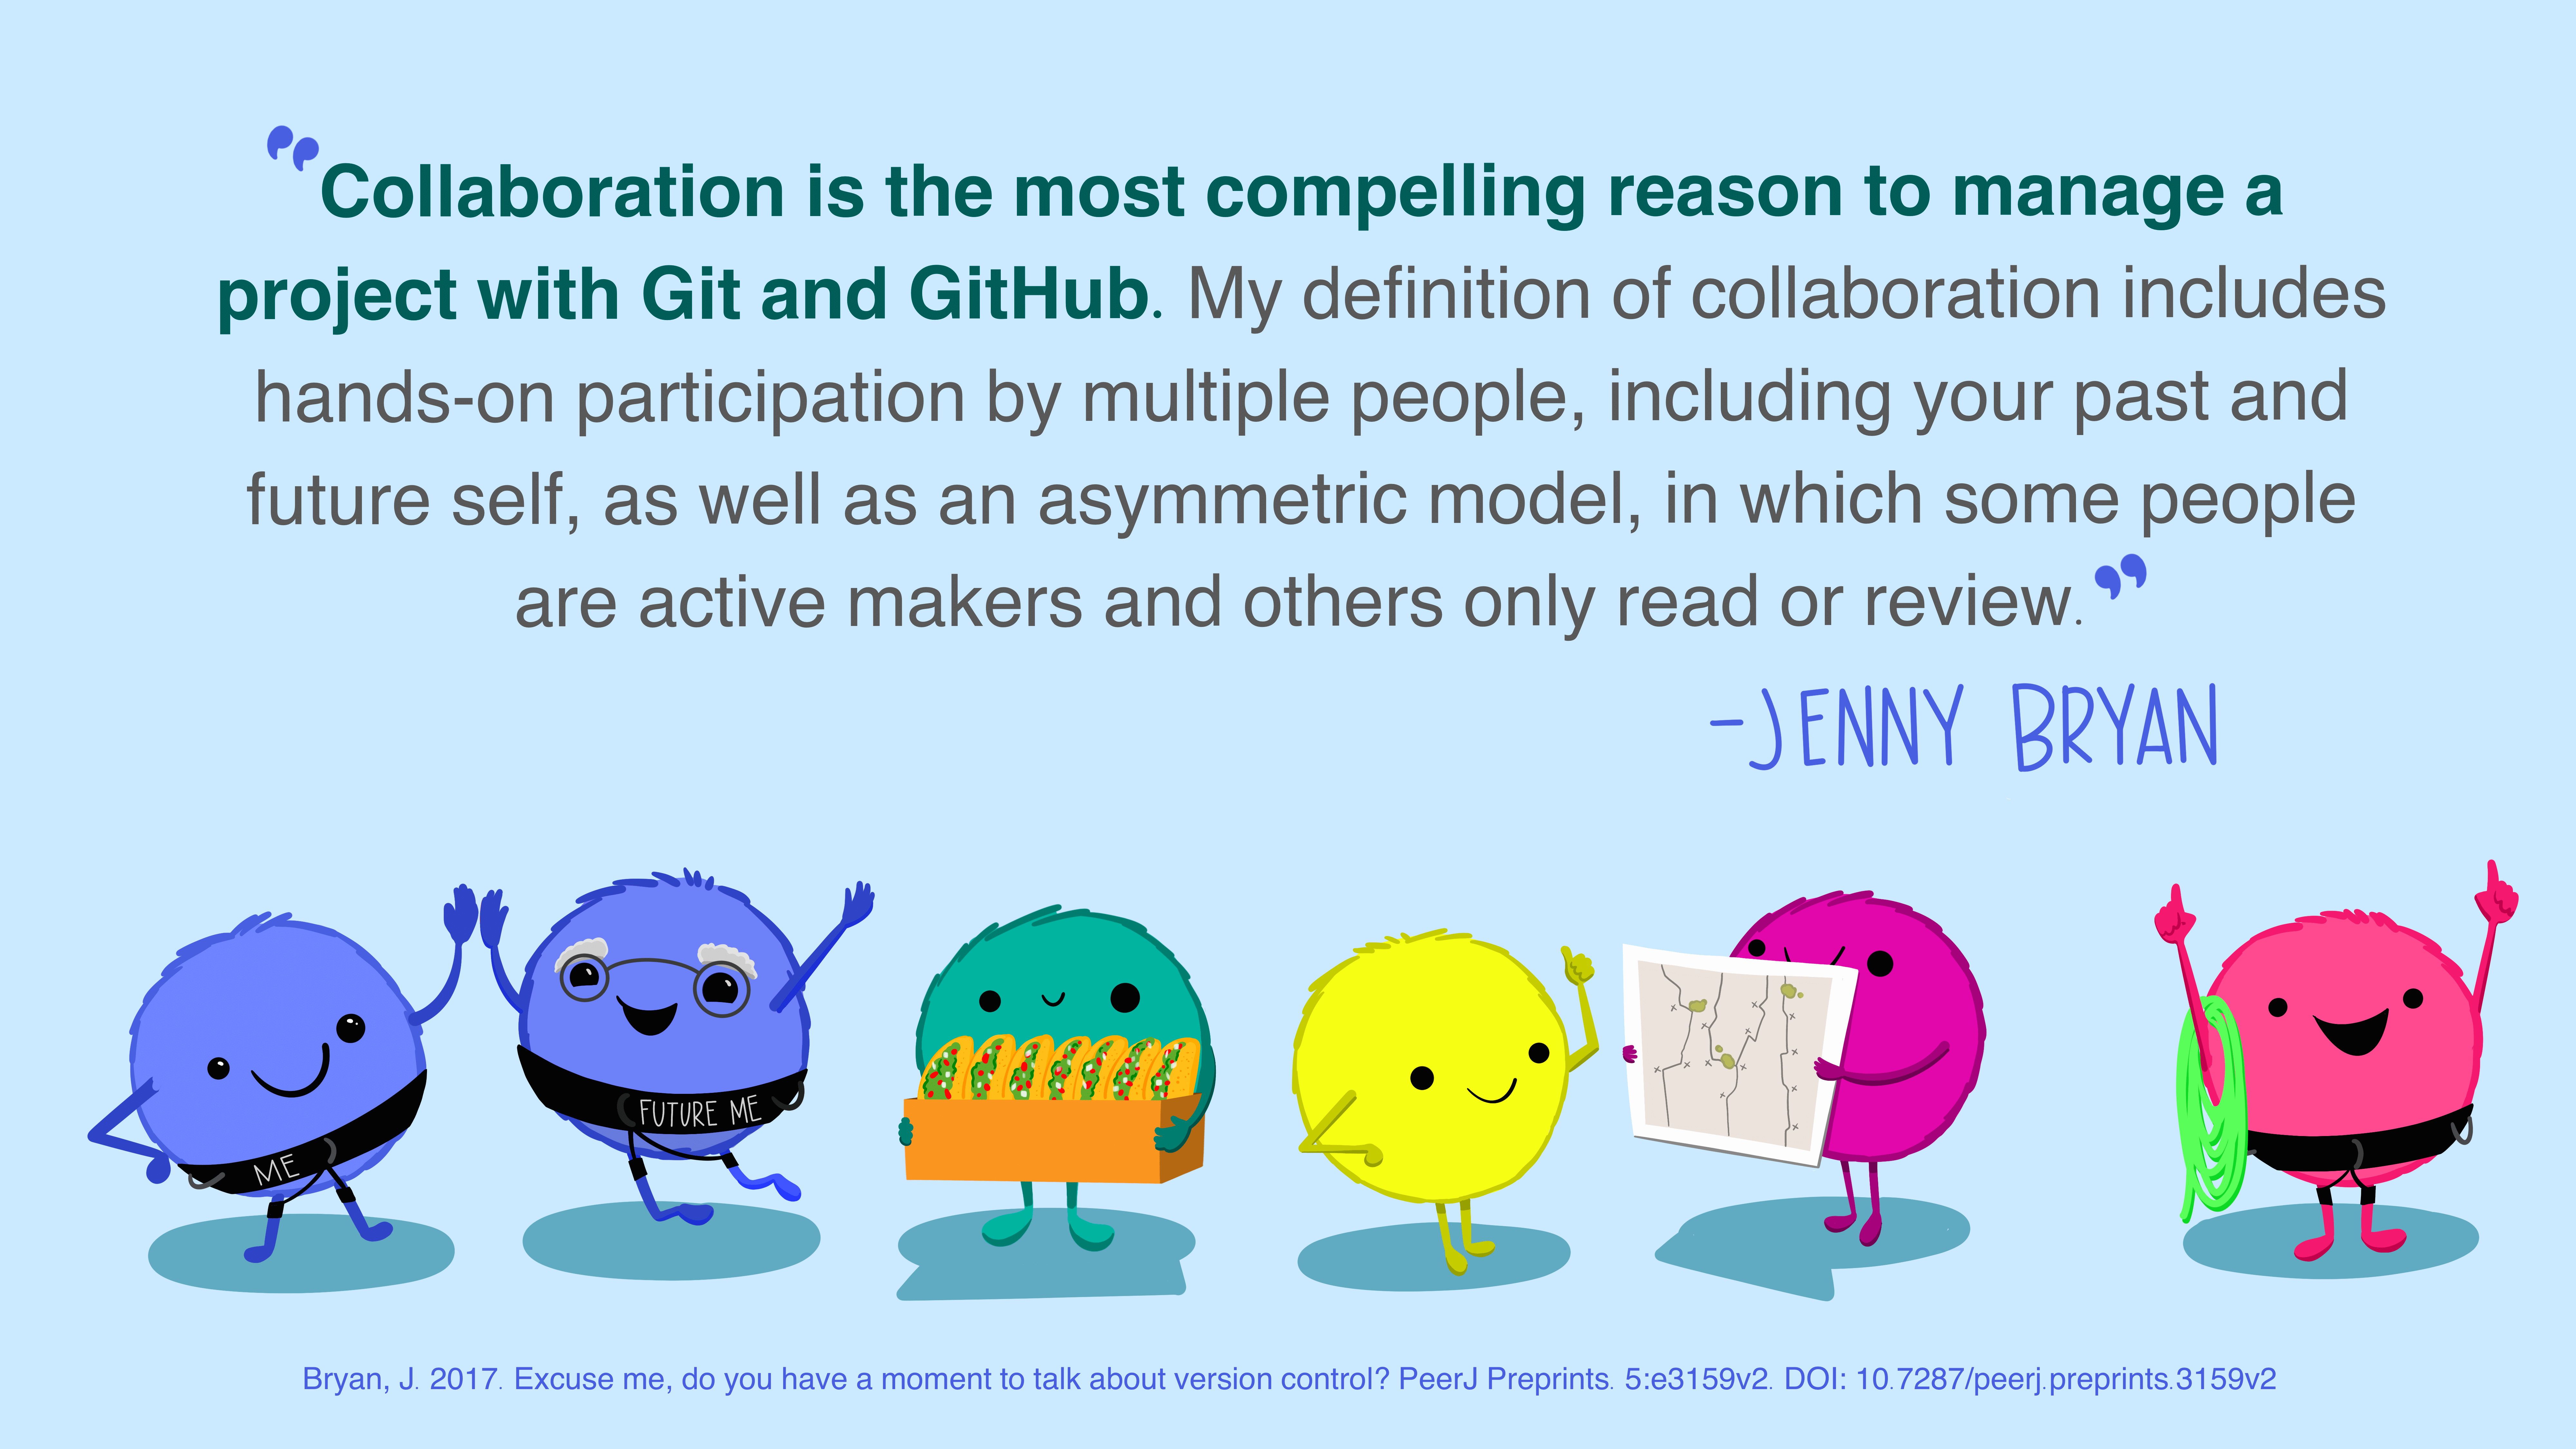
git and GitHub are particularly useful and efficient when several people collaborate to develop code together. Indeed, everyone can pull and push successive changes to the code, simultaneously, while endusing to always be working on the latest version of the code. We will see different concepts useful in the case of such a collaborative work.
👉 Your turn !
By pairing-up with another participant, you will each add your new buddy as a “collaborator” to your GitHub directory from the “Settings” tab on GitHub.
A few moments later, the added collaborator receives an email inviting him to accept the addition (check your spam folder). Click on the link and accept.
In RStudio, create a new package with the
usethis::create_from_github()function using the https or ssh link of your buddy’s project.
2.4.1 Branches
A useful features of git is branches. This allows you to make important changes in the changes in the code without disrupting the current operation. It is particularly useful to explore a development path that you don’t know if it will be successful in the end.
By the way, you have already been using branches since the beginning of this part. Indeed, the default branch is called “main” (or sometimes “master”).
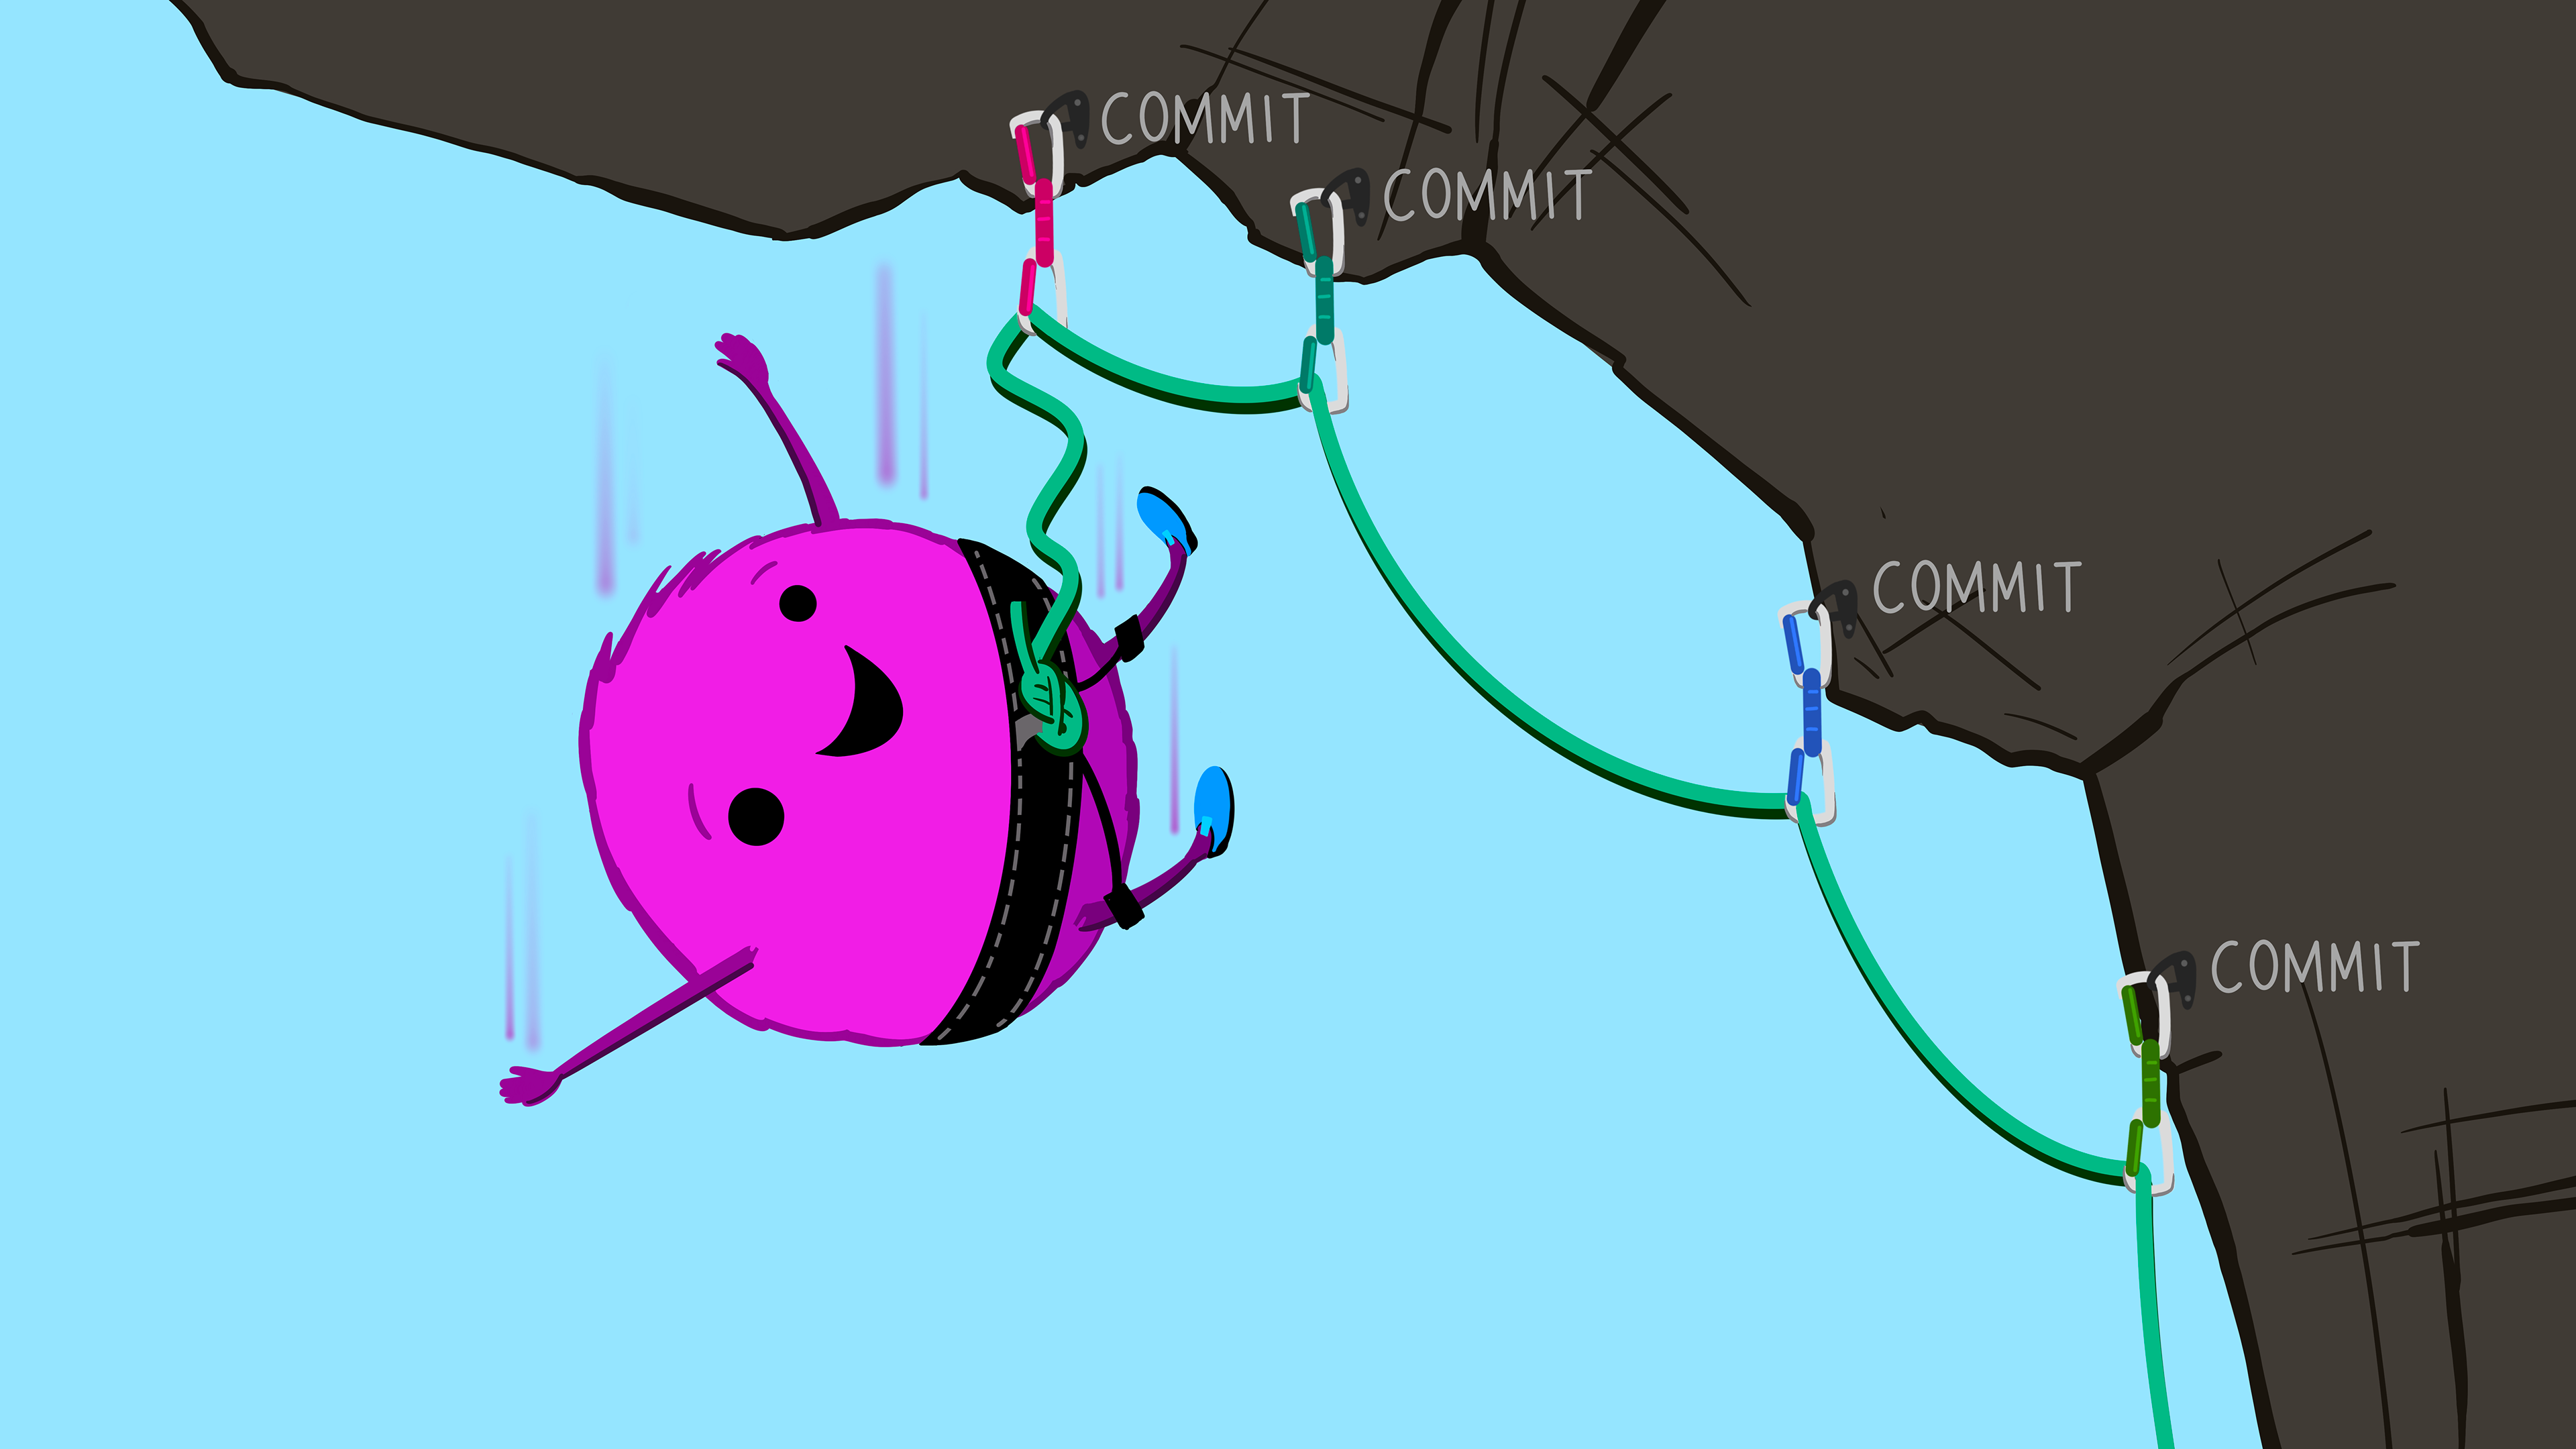
Thanks to this system of branches, we obtain a tree of the different commits over time (where the nodes correspond to the separation of the branches).
2.4.2 Merge
A so-called “pull” can be decomposed into 2 actions made by git:
first a fetch, which corresponds to downloading the online code
immediately followed by a merge, which merges the local version with the downloaded changes.
After conducting experimental development in one branch one may want to merge these changes into the “master” branch for example, once the experiment has proved successful.
If the changes concern separate parts of the code, then merging can be done without any problem. On the other hand, if the two versions to be merged both contain changes which concern the same lines of code since their last common commit , then we will encounter one (or more) conflicts, which we will have to be manually resolved.
2.4.3 Conflicts
Let’s take the following example: the developer \(D_1\) and the developer \(D_2\) have both pulled the version v0.1 of the code at time \(t\) on their respective machines. They each work independently to make changes to the code. When pushing his/her changes, developer \(D_2\) receives an error message:
"Sync Error.Please resolve all conflicted files, commit, then try syncing again."
Each file that is a source of conflicts has then been automatically edited with:
In order to solve the conflict, you have to manually and carefully edit each file one by one, choosing whether to keep the local or the online version of the code, before you can commit again, and finally successfully push your changes online.
👉 Your turn !
- Edit the
README.Rmdfile of your paired buddy, then commit your change, and finally push them.- Once your buddy has modified your own
README.Rmdmodify the file on the same line (make sure by discussing it together), WITHOUT pulling your buddy’s changes first! Commit and try to push these changes.- Resolve the conflict.
NB: In real life you want to avoid this situation and always pull before pushing, here we purposely do the opposite for the sake of providing an example and demystifying conflicts.
2.4.4 Fork
A fork allows you to create a copy of your own from an available code repository. Thus the original code will not be impacted by your changes. This is like creating a branch, and severing it from the tree, so you can assume ownership of it. It could also have been called a “cutting” to continue the metaphor…
This action is mainly useful for pull requests (see next).
2.4.5 Pull request
Pull requests are the easiest way to propose changes in a code project which you are not a contributor of. GitHub provides a graphical interface that makes this easy to do so.
👉 Your turn !
Modify the
README.Rmdof your neighbor who is NOT your paired-buddy after forking his package.Propose your change in the form of a pull request from their GitHub repository webpage (“Pull request”s tab).
Accept your own neighbor pull request on your repository GitHub website, and then merge it.
2.4.6 Issues
For any GitHub repository, you can post a comment, in the form of an issue, to alert the developers about a possible bug (providing a minimally reproducible example of the bug), or a question about the use of the package, or ask for an additional feature…
Ideally, you should propose a pull request that solves your issue when you can (i.e. when you have both the ability and time).
👉 Your turn !
Use
usethis::use_github_links()to add the following 2 lines to your packageDESCRIPTIONfile if there are not already present (they are also added when executingusethis::use_github()):URL: http://github.com/*username*/mypkgBugReports: http://github.com/*username*/mypkg/issuesView the new changes, then commit them.
Create an issue on your paired buddy’s project
2.5 Continuous Integration (CI)
With each change, with each commit, there is the possibility to introduce 1 (or more) bugs that will prevent the package from passing the CRAN R CMD CHECK. If you accumulate too many of these bugs, at the time of submitting the new version to CRAN there could be many corrections to make. It is even more frustrating if the package passed the R CMD CHECK before…
Continuous integration services allow you to check and test your package automatically after each commit ! In case of failure, you will receive an email informing you. A number of these services offer a (limited) free package for open-source projects.
Another reason to use continuous integration is that it allows you to test your package on different infrastructures than yours (e.g. Windows, Ubuntu, Mac OS) and for different versions of (current, devel…)
2.5.1 GitHub Actions
GitHub Actions let you launch “actions” automatically, every time you push to GitHub. The usethis::use_github_action("check-standard") command allows you to initialize Github Actions to add the R CMD CHECK action to your package.
👉 Your turn !
Run the command
usethis::use_github_action("check-standard"), then commit and push the changes. See what happens on the GitHub webpage under the “Actions” tab.Add a badge to your README.Rmd (do not forget to
knitit) with the code obtained in the console and commit (and push) those changes.
Have a look at the following webpage which informs about the different GitHub Actions available for packages: https://github.com/r-lib/actions/
2.6 Build and deploy a companion website for one’s package
pkgdown is an package that automatically generate a nice website gathering the documentation about your package (including Vignettes).
👉 Your turn !
Run
usethis::use_pkgdown_github_pages()into the console.Commit & push the changes. Go to your GitHub Actions tab and see what is new.
👉 Your turn !
Examine the different changes to
DESCRIPTIONfollowing the varioususethis::use_...run previously.If needed, modify the URL field from the
DESCRIPTIONfile.
2.7 Additional References
Happy Git With R by Jennifer Bryan.
Jennifer Bryan (2018). Excuse Me, Do You Have a Moment to Talk about Version Control? The American Statistician 72 (1):20–27.
DOI: 10.1080/00031305.2017.1399928
Appendix 2.1: R-hub
The R consortium provides the R-hub builder, and has the ambition to one day provide a continuous integration service especially dedicated to packages.
It has the advantage to use (almost) the exact same infrastructure as the CRAN make the check of your package foolproof. You can use it through the rhub package, by following the steps highlighted here 🌐.
Appendix 2.2: Code coverage
The covr package proposes a solution to measure the coverage of unit tests associated to a package. The test coverage determines the proportion of the source code that is actually used during the execution of unit tests. Measuring the coverage of the code reinforces the reliability of a code and gives more confidence to its potential users.
👉 Your turn !
- Run the command
use_github_action("test-coverage")to trigger GitHub Actions to compute the coverage of your package.- Commit and push these changes.
For more information feel free to look at the covr package. To be able to display your coverage rate on your README, run the command usethis::use_coverage() in the and add a nice badge with the code you got in the R console.
NB: for this new badge to display properly, you need to log into the codecov.io website and follow the instructions for enabling your repository to upload its coverage results through GitHub Actions (requires some advanced interactions with GitHub Actions).